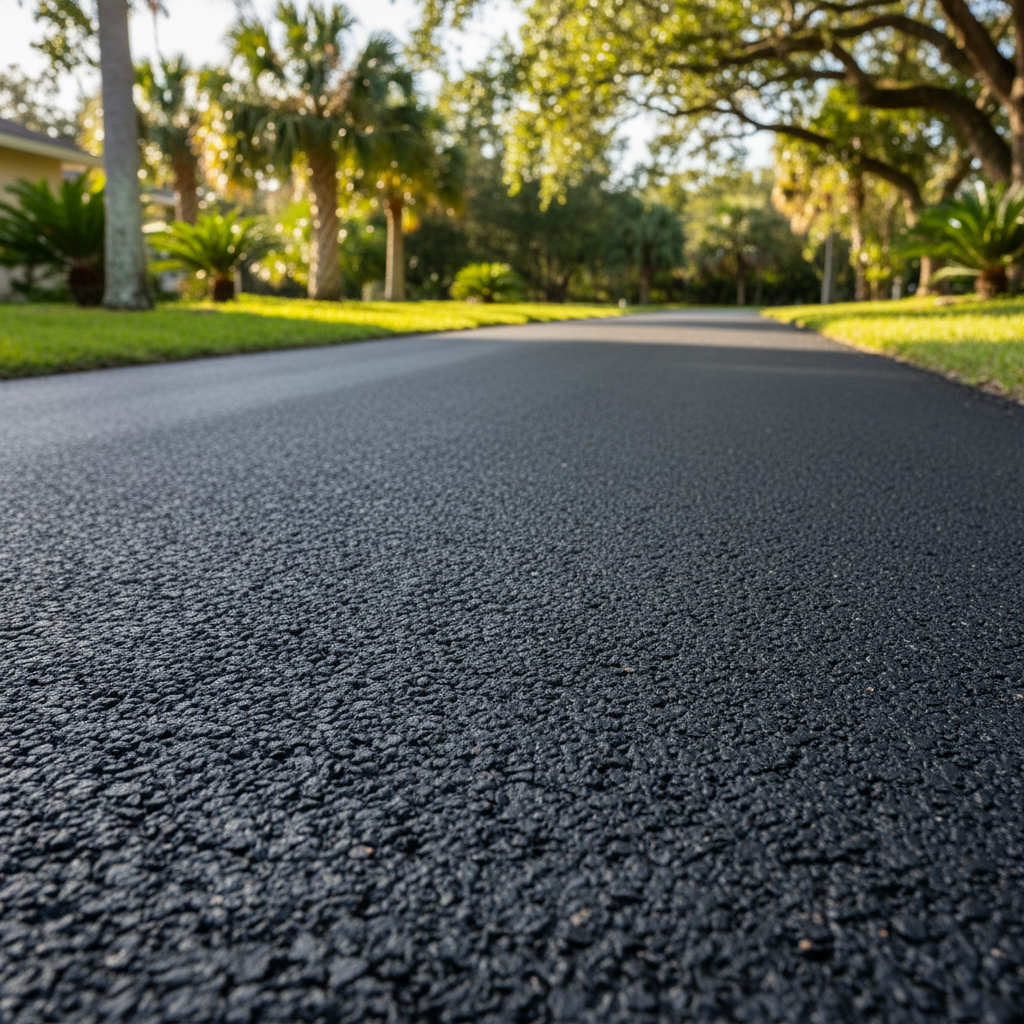
So, you're staring at your driveway – maybe it's got more cracks than a desert floor, or you're finally putting in that new one you've been dreaming about. Look, asphalt paving isn't exactly rocket science, but there are definitely right ways and wrong ways to get it done. As a local contractor, I've seen it all, the good and the bad, right here in Daytona Beach. Let's talk about what you really need to know before, during, and after the asphalt hits the ground.
Before the Shovels Hit the Dirt: Planning & Prep
This is where most folks either set themselves up for smooth sailing or a massive headache. You can't just slap asphalt down on anything and expect it to hold up. The foundation, my friend, is everything. Think about it like building a house; you wouldn't skip the concrete slab, would you?
- Figure out what you actually need: Is this a brand-new driveway? Are you just extending an existing one? Or are you tearing out an old concrete or gravel mess? Each situation needs different prep work. For a new driveway, you'll really need to think about drainage. We get some serious downpours here, especially during hurricane season, so water needs somewhere to go besides pooling on your shiny new asphalt.
- Grading and Base Material: This is probably the most crucial step, and honestly, it's where you'll almost always need a pro. Proper grading makes sure water runs off correctly. Then comes the base. We're talking about compacted crushed aggregate – stuff like limerock or crushed concrete. It needs to be thick enough and packed down properly. If your base isn't right, your asphalt won't last, plain and simple. Trying to DIY this with a rented compactor and a few bags of gravel is usually a recipe for disaster, especially with our sandy soil around places like Ormond-by-the-Sea. You just need heavy equipment to get the compaction right.
- Permits: Don't forget to check with Volusia County or your city's building department. Depending on the size and scope of the job, you might need a permit, especially if you're changing drainage or connecting to a public road. A good contractor, like us at Allied Asphalt Contractor, will handle this whole process for you.
During the Paving: What to Expect
Once the prep work is finished, the actual paving can happen pretty quickly. It's a bit like a well-choreographed dance, but with really heavy machinery.
- The Asphalt Mix: Not all asphalt is created equal, you know? Your contractor should be using a hot mix asphalt that's right for residential driveways and our local climate. It arrives hot, usually around 300 degrees Fahrenheit, straight from the plant.
- Spreading and Compacting: The hot asphalt gets laid down by a paving machine, then immediately compacted by heavy rollers. This compaction is super important for density and durability. You'll see different kinds of rollers – some vibrate, some are static. They work together to get that smooth, tight surface.
- Edges and Transitions: Pay close attention to how they finish the edges of your driveway and how it connects to your garage floor or the street. Clean, well-compacted edges stop crumbling later on.
- Stay Off It: This is a big one, folks. Once the asphalt is down, you've got to give it time to cool and cure. Your contractor will tell you exactly how long, but generally, you'll want to stay off it for at least 24-48 hours, and sometimes longer if you've got heavier vehicles. Driving on it too soon can create ruts and tire marks that'll be there forever.
After the Paving: Care & Maintenance
Alright, you've got a beautiful new asphalt driveway. Now what? You want to keep it looking good and lasting a long time, right?
- Initial Curing: Asphalt keeps hardening and curing for several months after it's installed. In our Florida heat, this can sometimes feel like it takes forever, honestly. Try to avoid parking heavy vehicles in the exact same spot every day for the first few months if you can, especially on a really hot day. The heat makes the asphalt a bit softer.
- Sealcoating: This is basically your asphalt's sunscreen and protective layer. It's not usually done right after paving. Most pros suggest waiting 6-12 months for new asphalt to fully cure before you put on that first sealcoat. After that, a good rule of thumb is every 2-3 years, depending on how much traffic it gets and how much sun it sees. Sealcoating protects against UV rays, water getting in, and spills.
- Crack Repair: Even with the best installation and maintenance, cracks can show up over time. That's just the nature of asphalt. The trick is to fix them quickly. Small cracks can be filled with crack filler. Don't let them turn into potholes. Water getting into cracks and under the asphalt is what causes the most damage.
- Oil and Gas Spills: Clean these up immediately. Petroleum products actually dissolve the binders in asphalt, leading to soft spots and deterioration.
Look, a good asphalt driveway is an investment, but it's one that can last 15-20 years or more with the right care. Don't cut corners on the prep work, and don't be afraid to call in the pros for the heavy lifting. You'll be glad you did when you're enjoying a smooth, durable surface for years to come.